There are certain simple things to keep an eye on before you even submit files to your printer, to ensure a final product that turns out as expected without any minor design mistakes causing you regret. Today we’re sharing them here.
Advances in technology on modern finishing equipment have come a long way, yet there still is possible variation. Trim area, bleed and margins are built-in tolerances to prevent having white on edges where a photo should extend, having misaligned page layouts, or possibly cutting off important elements.
Trim Area
The trim area of your document will show what you will receive as a finished piece. Essentially, this is your document size. Anything outside your artboard will be cut away on the final product.
Another consideration with document size is making note to your printer if you have used custom page sizes within your document. If all pieces in your document are the same size, be sure to change it in the document settings, not as a custom page size as that can cause issues during prepping. If there are multiple page sizes within your document, it’s good practice to note it when you submit your files so everyone is on the same page (pun intended).
Bleed
When images, backgrounds, color blocks and other design elements are supposed to run to the edge of your trim area, it’s important to extend them past the edge of the document. That is bleed. Having bleed is critical so that any slight variation that could happen during the trimming process won’t have white paper showing where it shouldn’t.
Rule of thumb is to extend anything that should go to the edge of the page by at least 1/8″ to avoid any issues.
Margins
Converse to bleed, is margin. Elements that you don’t want to come too close to the edge should stay within a safe zone, or margin. It’s important to keep enough space between important copy or other elements and the edge of your page. A margin of 1/4″ or more is recommended to avoid any issues during finishing.
On books, imposition software accounts for creep/push (center pages push out farther than outer pages especially on larger page count books due to the thickness of the paper) by factoring stock thickness and page count and making adjustments accordingly, so any design elements that are too close to the edge don’t get cut off on final trim. To be safe, take this into consideration during the design and keep important elements within the safe zone.
Something to consider: on perfect bound or wire-o/plastic coil books, extra space at the gutter (margin at the spine) should be factored in. The binding will lose at least 1/4″ on the inner margin. To avoid your content either getting cut off, coming very close to the inner margin or your page looking misaligned, it’s important to add 1/4″ to that inner margin so that your final product turns out as expected and desired.
Happy designing!
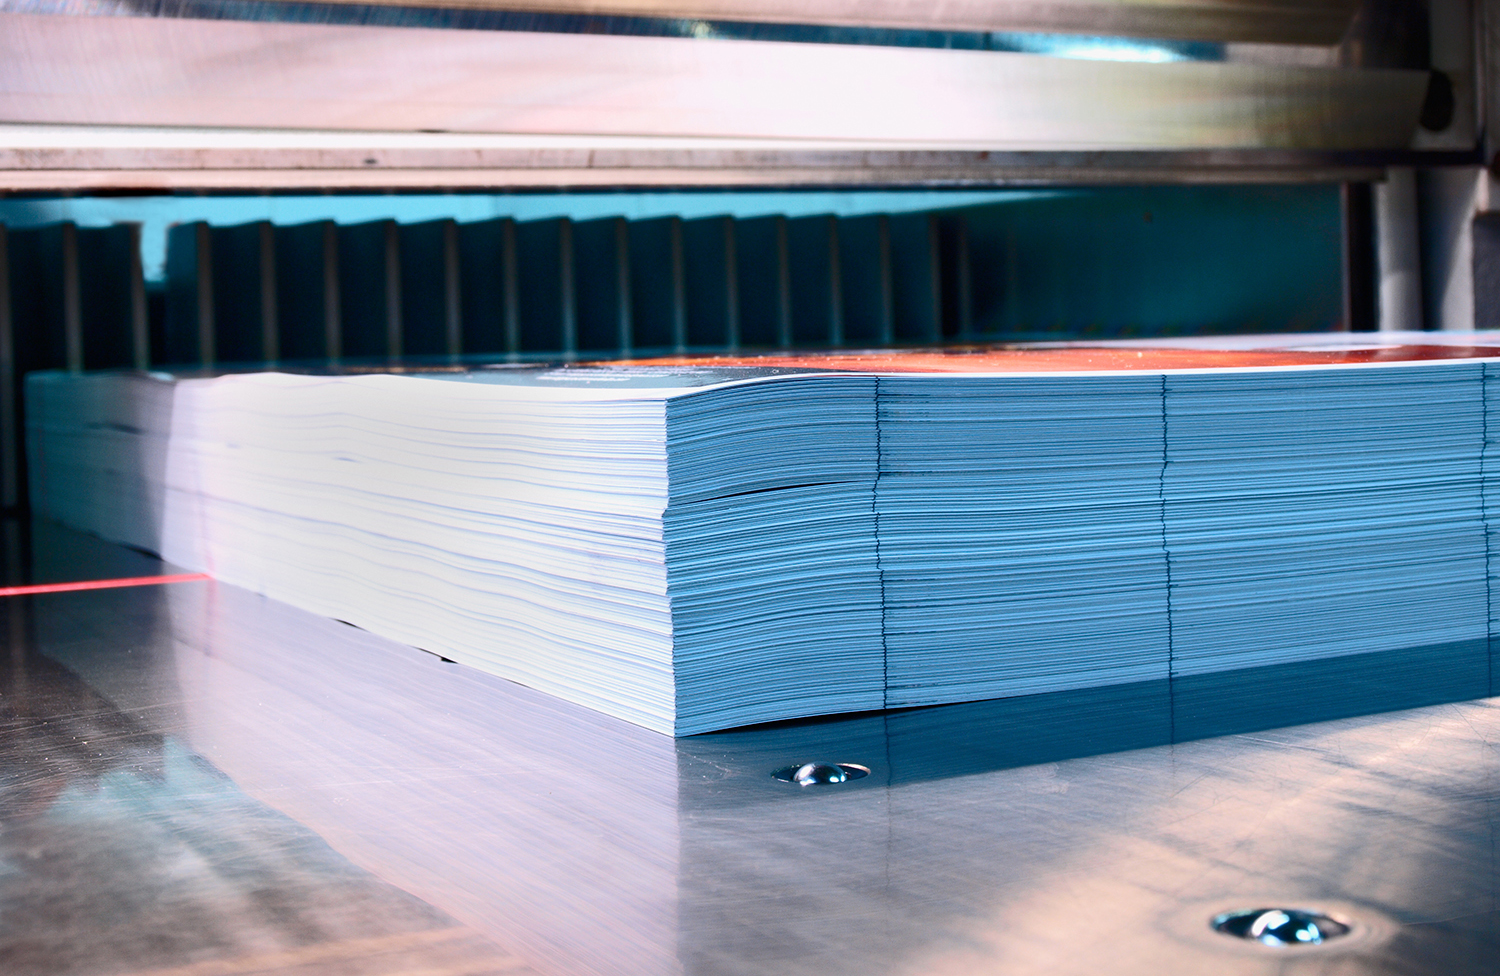
Photo from iStockPhoto